
Follow this guide to:
- Create a new FAREPAY account for yourself or another person, and
- After you have created a FAREPAY account, link a FAREPAY Card to the account.
1. Navigate on your computer or smart device to

2. Click "Register"

3. Currently, this portal is available in English or Spanish. Click the "English" preferred language dropdown menu and select the language you prefer.

4. As you create your account, note that all fields with red asterisks ( * ) are required.
Click the "Username" field and enter a new user name.
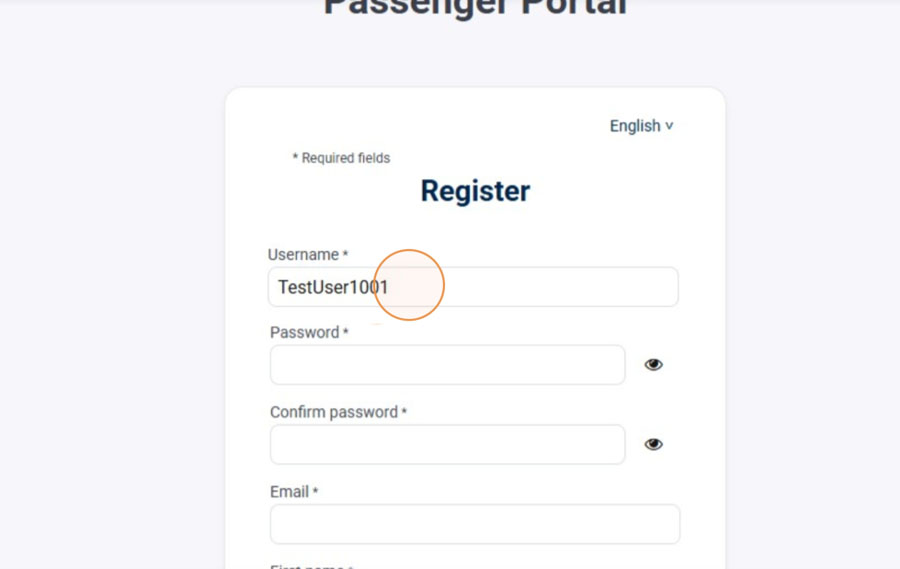
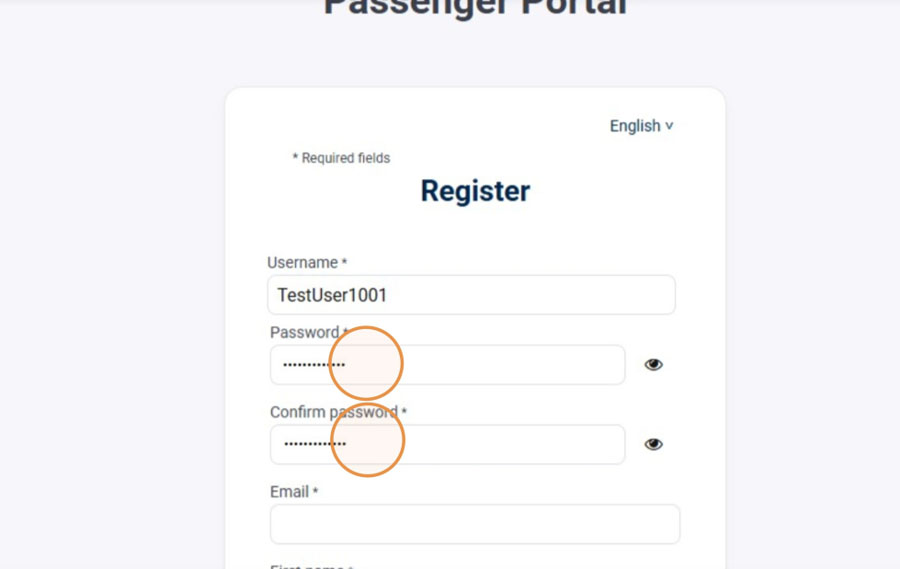
5. Click the "Password" field and enter a secure password.
Click the "Confirm password" field and re-enter the same password.
Be sure to record your password in a secure file or other safe location.
6. Click the "Email" field and enter your current, valid email address, or the email address of the person who will manage this account.
This is the email address UTA will use to send important messages about the account.

7. Click the "First name" field and enter your first name.
Click the "Last name" field and enter your last name.

8. Click "Register" to save the information you entered and move to the next step.

9. You will be taken to a page asking for your contact information. Scroll down.

10. The name you entered previously will appear on this page. You may enter or correct any information in the fields on this page.

11. Click "Next Step."

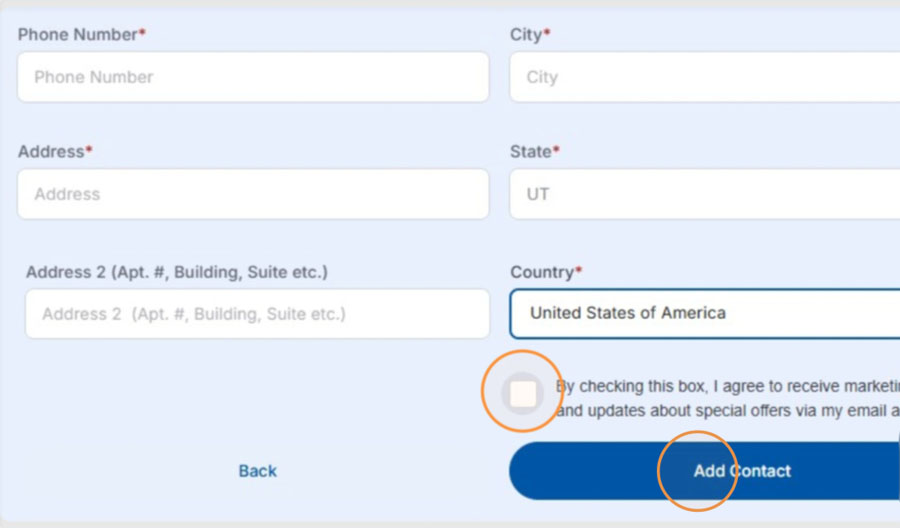
12. The email address you entered previously will appear on this page. Enter your phone number, city, street address, and state in these required fields.

13. Scroll to the bottom of this page. If you would like to receive occasional fares system updates and UTA notices by email, check the box circled below. This is not required.
Then, click the "Add Contact" button. The person whose information you just entered will be added to this account.
14. Click "OK"

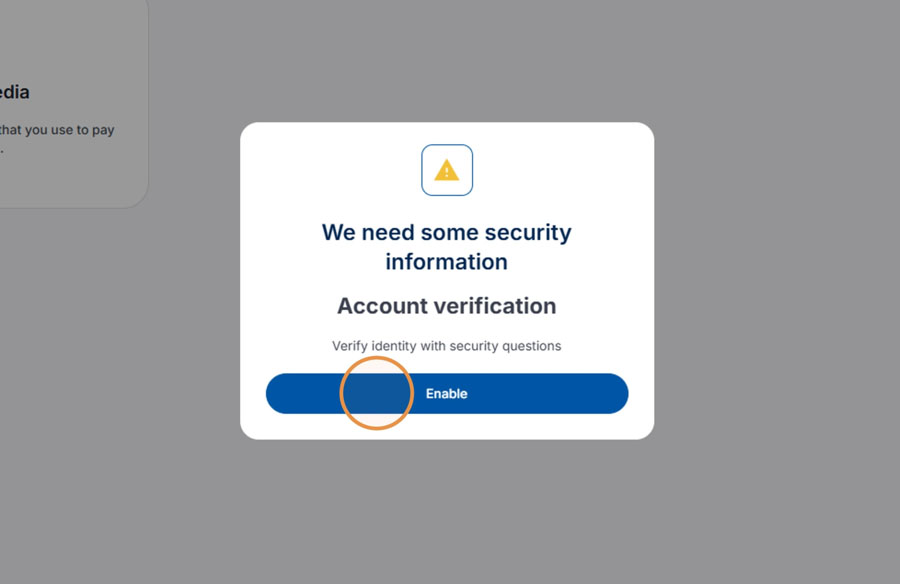
15. To protect your account information, you will be asked to provide security information. Click "Enable" to continue.
16. Answer the 3 security questions on this page.
Click and complete the "Security Answer" field for each question.

17. After answering at least 3 questions, click "Save."

18. You have successfully registered a FAREPAY account on the UTA Passenger Portal.
Click the arrow to go to your account dashboard where you can link a FAREPAY Card to your account.

19. This is your FAREPAY account dashboard.

20. If you just created a new account, you will see only the "Link a Media" image below.
This example screen shows an image of a FAREPAY Card already linked to the account (you may link multiple FAREPAY Cards to your account).
To link a FAREPAY Card to your account, click the "Link a Media" plus sign ( + ).

21. In the Nickname field, enter a nickname for the FAREPAY Card you are linking.
Nicknames help you quickly identify and manage multiple cards on your account.

22. Click the "FAREPAY Media Number" field. Enter the last 16 digits of the number on the back of the FAREPAY Card you are linking (the last 16 digits begin with 6369).

23. Once you have entered the card nickname and number, click "Link Media."

24. This FAREPAY Card is now linked to your FAREPAY account.
Click "Ok" to return to your account dashboard
